


I-1-0-10.Exhibit
Last Update: 3/3/11 (Transmittal I-1-61)
The Microsoft Word Template (HALLEX.dot)
A. Introduction
The template contains styles you can use to ensure that your HALLEX instructions are in the proper format.
B. Storing the Template
When you receive the template (HALLEX.dot) from a co-worker or from the Program Analysis Staff:
Point and right-click on the file.
Click "Copy."
Open a blank document in Microsoft Word.
Click on the Office Button; then click on Word Options.
In the window that appears, select Add-Ins from the menu on the left side and change the Manage: box to Templates. Click Go.
In the next window, click on the Attach button.
Anywhere in the next window, right-click; then click on "Paste."
Close all windows.
Now, the template file is located in the proper folder for use in Microsoft Word.
Every HALLEX author and reviewer must have the template stored on his or her PC to edit or review downloaded POMS sections.
C. Incorporating the Template
The HALLEX template is already incorporated in downloaded HALLEX sections received from the Office of PolicyNet and Program Support. If you are keying new instructions that have not been downloaded from SSA's Policy Repository, begin with 1. below. If you are keying revised instructions, or reviewing new or revised instructions, see 2. below.
1. Keying New HALLEX Instructions
Open a blank screen in Word. Then:
Click on The Office Button; click on Word Options.
In the window that appears, select Add-ins from the menu on the left side and change the Manage: box to Templates. Click Go.
Click on the Attach button, and locate the "HALLEX.dot" template.
Double click on that entry.
Click on the small box next to "Automatically update document styles." A check mark should appear there.
Click on OK.
2. Adding a Specific Style
Before keying:
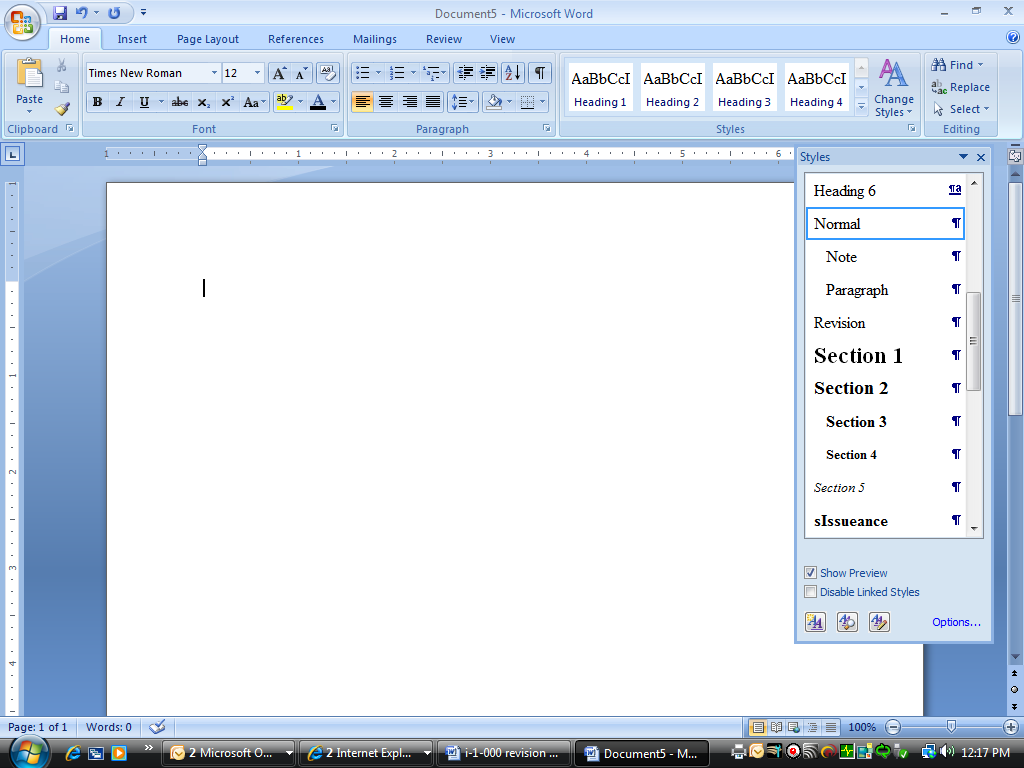
Access the template's styles by clicking first on the arrow in the bottom, right corner of the Styles box of the Home portion of the Ribbon. This action opens Word's Task Pane.
At the bottom of the Task Pane, click on the box to the right of "Show Preview."
Then:
Browse through the list to the desired style entry, and click on it.
Begin keying.
Electronic editing, using Microsoft Word's Track Changes function, will allow revisions and deletions to be captured electronically. This may also serve as an electronic history file when development is completed.
D. Formatting Styles in the Task Pane
More formatting styles appear than you need for writing HALLEX. The following styles have been defined for HALLEX:
Chapter Title
This style is only used for the actual Chapter title line of a HALLEX document.
Sample: I-1-0 Introduction to HALLEX
Section 1
Most HALLEX documents are split into sections. The Section 1 style is the topmost section.
Sample: I-1-0-6 Preparing a HALLEX Transmittal
Section 2
This style is used at the subsection level, contained within a section.
Sample: F. Notes, Examples, and Exhibits
Section 3
This style is for a sub-subsection, contained within a subsection.
Sample: 2. Examples
Sections 4 and 5
These styles are for lower-level subsections that are rarely used.
Sample: a. Section 4 Level
i. Section 5 Level
Paragraph
This is the default style. The template includes this as a selection because you need to switch back to "Paragraph" after creating or modifying another element type.
Note
Although this helps with placement, you must still type the word NOTE in bolded upper case letters followed by a colon.
Blockquote:
Used for lengthier quoted material, this indents text from both margins.
Revision
This is used when marking the last revision of a particular chapter or section.
Address
Used to properly indent an address. Use a carriage return (shift-enter) after each line.